Hexo博客搭建以及深入学习(一)
[TOC]
Hexo博客搭建以及深入学习(一)
一、前置环境搭建
- git(版本控制工具)
- Node(JavaScript运行环境)
- npm(包管理工具)
二、Hexo安装
使用npm安装Hexo
1 | npm install hexo -g |
初始化博客
1 | hexo init hexo_github_blog |
在文件夹中安装依赖
1 | cd hexp_github_blog |
对博客进行预览
hexo g:生成静态网页,g是generate的缩写
hexo s:打开本地服务器,s是start的缩写
1 | hexo g |

通过复制得到的本地端口http://localhost:4000/进行访问本地博客。一般是用来查看自己的博客写完后是否可以正常显示。
通过control + 'C'退出,退出之后就无法访问http://localhost:4000/了
三、Hexo连接到github
注意:事先需要注册到一个github的账号。
1、创建一个新仓库
在创建仓库时,仓库的名字一定是[你的用户名]+.github.io
如上图,我的名字是momingxiaoyang,那么我创建的时候就需要设置Repository name 为momingxiaoyang.github.io
其他选项不要修改,描述可填可不填
2、配置github信息
注意:由于github在2021年更新后,无法使用https进行信息配置,只能使用SSH的方式。所以,你需要生成SSH密钥,这里建议去csdn上面去寻找,因为有些老方法是不可用的。
确保目前环境是在你的博客文件夹的位置,可以使用pwd命令进行查看。
首先,需要安装插件,来连接github和你的hexo博客
1 | npm install hexo-deployer-git --save |
其次,打开hexo的配置文件_config.yml。你可以使用vim直接在终端打开,也可以使用其他代码编辑器打开
。
1 | vim _config.yml |
找到该文件的尾处,将内容修改为
1 | type: 'git' |
注意:如果你的默认分支是master,最好是将上面的main改成master
然后使用hexo组合拳上传github
- hexo clean:清理hexo的缓存
- hexo g:生成静态hexo文档
- hexo r:将文档上传到github中
1 | hexo clean |
注意:首次使用hexo r可能需要输入你的github.com的账号和密码,具体看终端的提示。
成功后终端会有有下面的提示。

3、首次打开hexo配合github搭建的线上博客
- type设置为git
- 新增
repo,按照模版https://yourname.github.io/的格式填写网址,其中yourname填写你在github上面的用户名,例如我的就是:https://momingxiaoyang.github.io/ - 新增
branch,设置为main,原因是branch需要设置为主分支,如果你的主分支为master就设置为master。
示例代码:
1 | # Deployment |
四、配置文件的说明和修改

主要需要了解的文件:
source:源文件,里面的_post文件夹里面存放着博客文章themes:主题文件,里面存放着hexo的一些主题_config.landscape.yml:主题的配置文件_config.yml:博客框架的配置文件
所说的配置文件,就是指_config.yml。
文件_config.yml注意事项:
- 缩进十分严格, 只有两个空格。如果缩进有问题,那么博客就不能正常运行。所以这里不推荐使用记事本或者简单的文本编辑器进行对文件
_config.yml的编写,这里建议使用IDE进行编写,如vscode、webstorm等。
1、Site部分
1 | # Site |
title:博客的主标题subtitle:博客的副标题description:博客的描述keywords:关键字,通常情况作为搜索引擎的搜索指标之一。可写可不写author:作者信息language:默认为英文(en),中文的为(zh-CN)timezone:- 注意:如果需要填写中文时,最好添加单引号
2、URL部分
1 | # URL |
url:填写你的github地址的url,格式为https://username.github.io。例如,我需要填写的url就是https://momingxiaoyang.github.io。- 其他的就不用管,直接使用默认的就行。
3、Directory部分
1 | # Directory |
- 该部分是对文件夹的配置。
- 该部分不需要进行修改,只需要使用默认就行。
4、Writing部分
1 | # Writing |
- 编写博客内容的部分。
- 该部分不需要进行修改,只需要使用默认就行。
5、Home page setting部分
1 | # Home page setting |
- 博客的页面设置部分
path:根目录,直接使用默认即可。per_page:每页显示文章的数量,一般参数设置都是10,直接使用默认即可。order_by:文章排序,一般使用降序,直接使用默认即可。
6、Category & Tag
1 | # Category & Tag |
- 预设分类的部分
default_category:默认的分类预设,初始设置为未分类状态。category_map:分类的别名。tag_map:标签的别名。- 以上都可以使用默认配置。
7、Date / Time format部分
1 | # Date / Time format |
date_format:日期的格式设置。time_format:时间的格式设置。updated_option:更新的信息,通过通过修改其来实现更新的时间信息显示。
8、Pagination部分
1 | # Pagination |
- 分页信息的部分
per_page:设置分页的信息,如果设置为0就表示禁用pagination_dir:分页的目录
9、Include / Exclude file(s)部分
1 | # Include / Exclude file(s) |
- 包含的文件的部分,可以不用管理
10、Extensions部分
1 | # Extensions |
- 拓展的主题设置部分
theme:
11、Deployment部分
- 该部分在前面就已经修改过了,无需再进行修改。
12、总结:
需要修改信息的部分有:
五、Hexo常用命令
hexo init:初始化博客,创建博客文件夹。hexo new/hexo n:新建一篇博客文章,后面需要输入文章的名字。hexo g:生成博客,每次新建文章都要生成一次本地的静态博客。hexo s:生成本地博客,一般用来对博客的预览。hexo d:将博客文件上传到github仓库,上传之后就可以使用github的pages来观看博客了。hexo clean:清理博客的缓存,最好是在hero g使用之前使用。- 一般使用顺序是,先使用
hexo clean来清理缓存,再使用hexo g来生成博客,然后再用hexo s来观察写出的博客是否有问题,如果没有问题的话就可以直接使用hexo d来上传到仓库,就可以远程浏览了。
六、主题的安装和使用(以主题butterfly为例)
1、下载主题
可以无脑按照下面的三条命令的任意一条,在你的博客根目录中执行下面三条命令中的任何一条来安装主题。这里推荐使用npm的方法,后面进行自动部署需要类似方法辅助。
通过Github安装:
1 | git clone -b master https://github.com/jerryc127/hexo-theme-butterfly.git themes/butterfly |
通过Gitee安装:
1 | git clone -b master https://gitee.com/immyw/hexo-theme-butterfly.git themes/butterfly |
通过npm安装:
1 | npm install hexo-theme-butterfly |
2、修改主题
- 打开配置文件中的Extensions部分。
- 将里面的
theme后面的landscape改为butterfly。
3、安装一些插件供主题运行
注意:不同的主题需要的插件不一样,如果你安装的主题不是bufferfly,你需要去查看你安装的主题的使用文档来独立进行插件的安装。
如果你安装的是bufferfly主题,无论使用git还是npm安装,你只需要在博客文件夹的根目录执行下面一行命令即可:
1 | npm install hexo-renderer-pug hexo-renderer-stylus --save |
七、主题信息的配置一
以下所有的操作都是参考bufferfly官方文档。
1、创建标签页
- 在博客文件夹的根目录下使用下面命令来创建标签页文档。
1 | hexo new page tags |
- 在博客文件夹的根目录下面按照顺序找到
source/tags/index.md这个文件。 - 修改这个文件,添加
type: "tags"。例如:
1 | --- |
- 其中上面的
title和data是可以修改的。 title:代表标签页的名字。data:代表标签页的创建日期。- 注意:修改完该文件后,使用组合拳
hexo clean、hexo g、hexo s并不能直接打开标签页,具体需要在使用组合拳之后得到的4000端口地址之后加上tags/,即http://localhost:4000/tags/。
2、创建分类页
- 在博客文件夹的根目录下使用下面命令来创建标签页文档。
1 | hexo new page categories |
- 在博客文件夹的根目录下面按照顺序找到
source/categories/index.md这个文件。 - 修改这个文件,添加
type: "categories"。例如:
1 | --- |
- 其中上面的
title和data是可以修改的。 title:代表分类页的名字。data:代表分类页的创建日期。- 注意:修改完该文件后,使用组合拳
hexo clean、hexo g、hexo s并不能直接打开分类页,具体需要在使用组合拳之后得到的4000端口地址之后加上tags/,即http://localhost:4000/categories/。
3、链接页的设定
- 在博客文件夹的根目录下使用下面命令来创建标签页文档。
1 | hexo new page link |
- 在博客文件夹的根目录下面按照顺序找到
source/link/index.md这个文件。 - 修改这个文件,添加
type: "link"。例如:
1 | --- |
-
其中上面的
title和data是可以修改的。 -
link:代表链接页面的名字。 -
data:代表链接页面的创建日期。 -
注意:修改完该文件后,使用组合拳
hexo clean、hexo g、hexo s并不能直接打开链接页,具体需要在使用组合拳之后得到的4000端口地址之后加上tags/,即http://localhost:4000/link/。 -
友情链接的添加:
-
在Hexo博客的根目录中的
source中新建一个文件夹_data(如果已经创建可以跳过此步),然后创建一个文件夹link.yml。 -
以下面的格式进行添加链接:
1
2
3
4
5
6
7
8
9- class_name: 该链接类别的名字
class_desc: 该链接类别的描述
link_list:
- name: 该列表中的第一个链接
link: 第一个链接的url链接
descr: 第一个链接的描述
- name: 该列表中的第二个链接
link: 第二个链接的url
descr: 第二个链接的描述 -
代码示例:
1
2
3
4
5
6
7
8
9
10
11
12
13
14
15
16
17
18
19
20
21
22
23
24
25
26
27
28
29
30
31
32
33
34
35
36
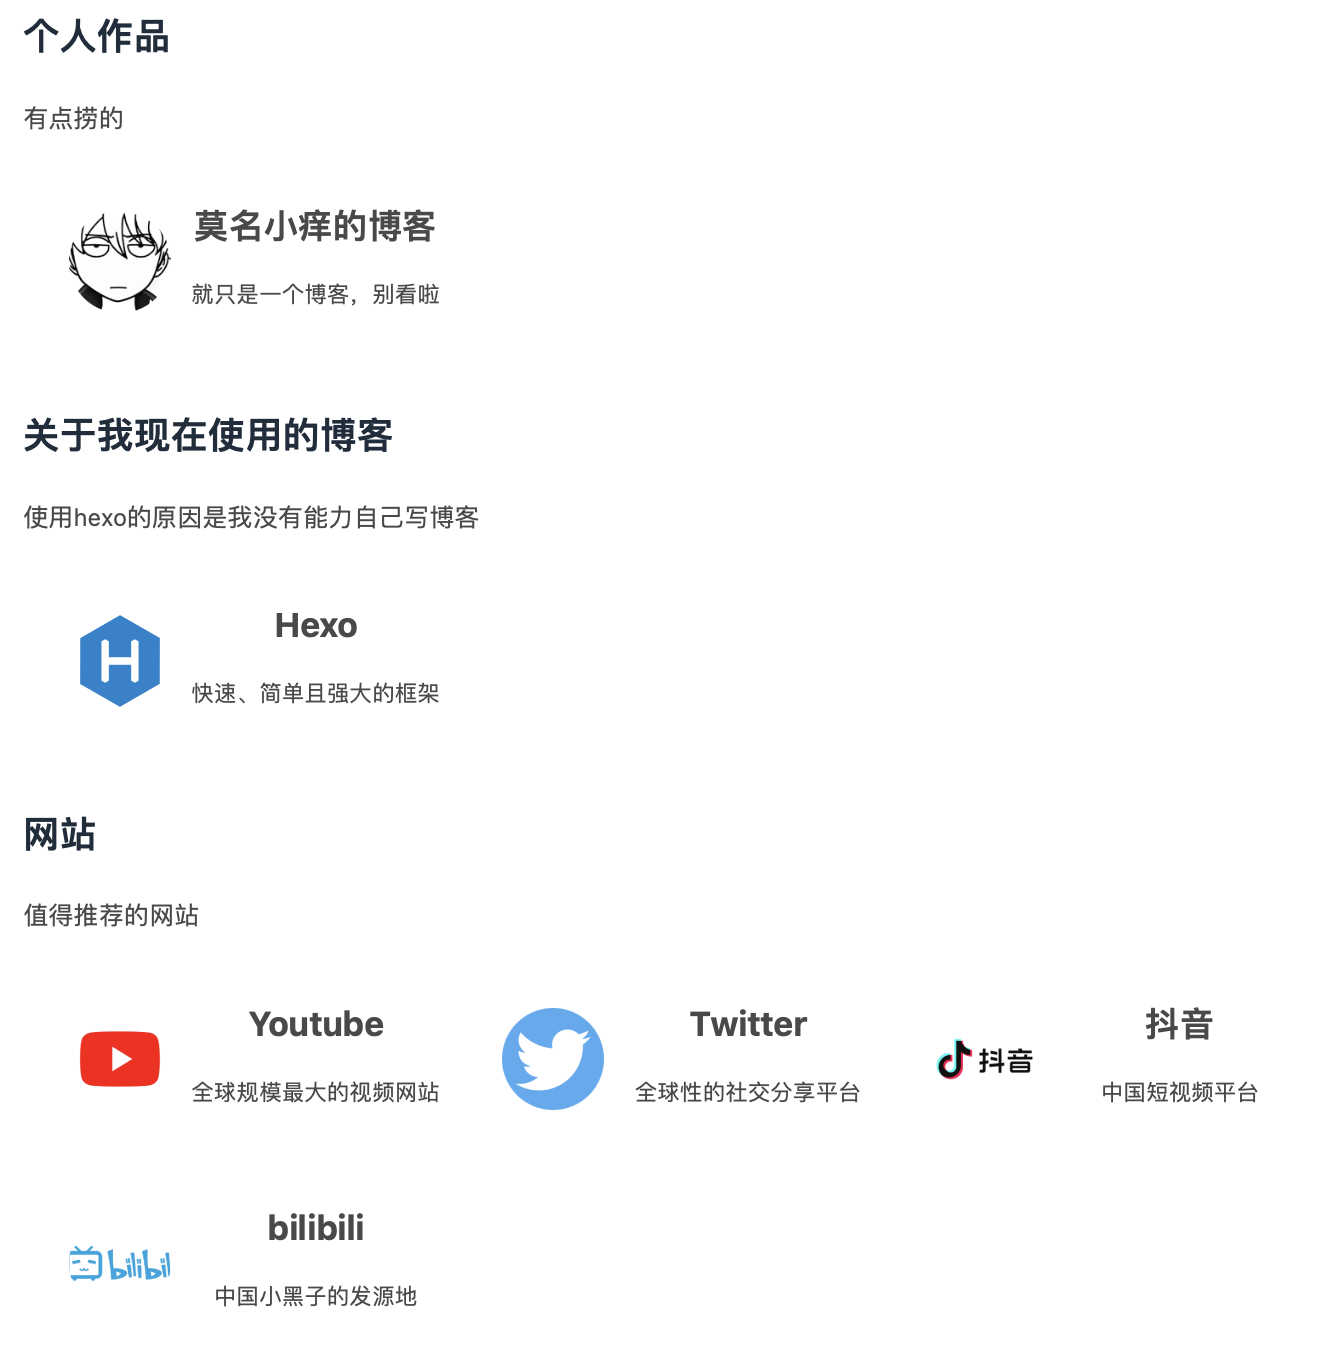
37- class_name: 个人作品
class_desc: 有点捞的
link_list:
- name: 莫名小痒的博客
link: https://momingxiaoyang.github.io
avatar: https://s2.loli.net/2023/07/14/DwPaOBch6G8Ij1W.jpg
descr: 就只是一个博客,别看啦
- class_name: 关于我现在使用的博客
class_desc: 使用hexo的原因是我没有能力自己写博客
link_list:
- name: Hexo
link: https://hexo.io/zh-tw/
avatar: https://d33wubrfki0l68.cloudfront.net/6657ba50e702d84afb32fe846bed54fba1a77add/827ae/logo.svg
descr: 快速、简单且强大的框架
- class_name: 网站
class_desc: 值得推荐的网站
link_list:
- name: Youtube
link: https://www.youtube.com/
avatar: https://i.loli.net/2020/05/14/9ZkGg8v3azHJfM1.png
descr: 全球规模最大的视频网站
- name: Twitter
link: https://twitter.com/
avatar: https://i.loli.net/2020/05/14/5VyHPQqR6LWF39a.png
descr: 全球性的社交分享平台
- name: 抖音
link: https://www.douyin.com/
avatar: https://s2.loli.net/2023/07/14/7ma4zfUIREVBwng.jpg
descr: 中国短视频平台
- name: bilibili
link: https://www.bilibili.com/
avatar: https://s2.loli.net/2023/07/14/qsAbU2oHLFhRG6j.jpg
descr: 中国小黑子的发源地 -
示例代码的显示效果:
-